Fast samples
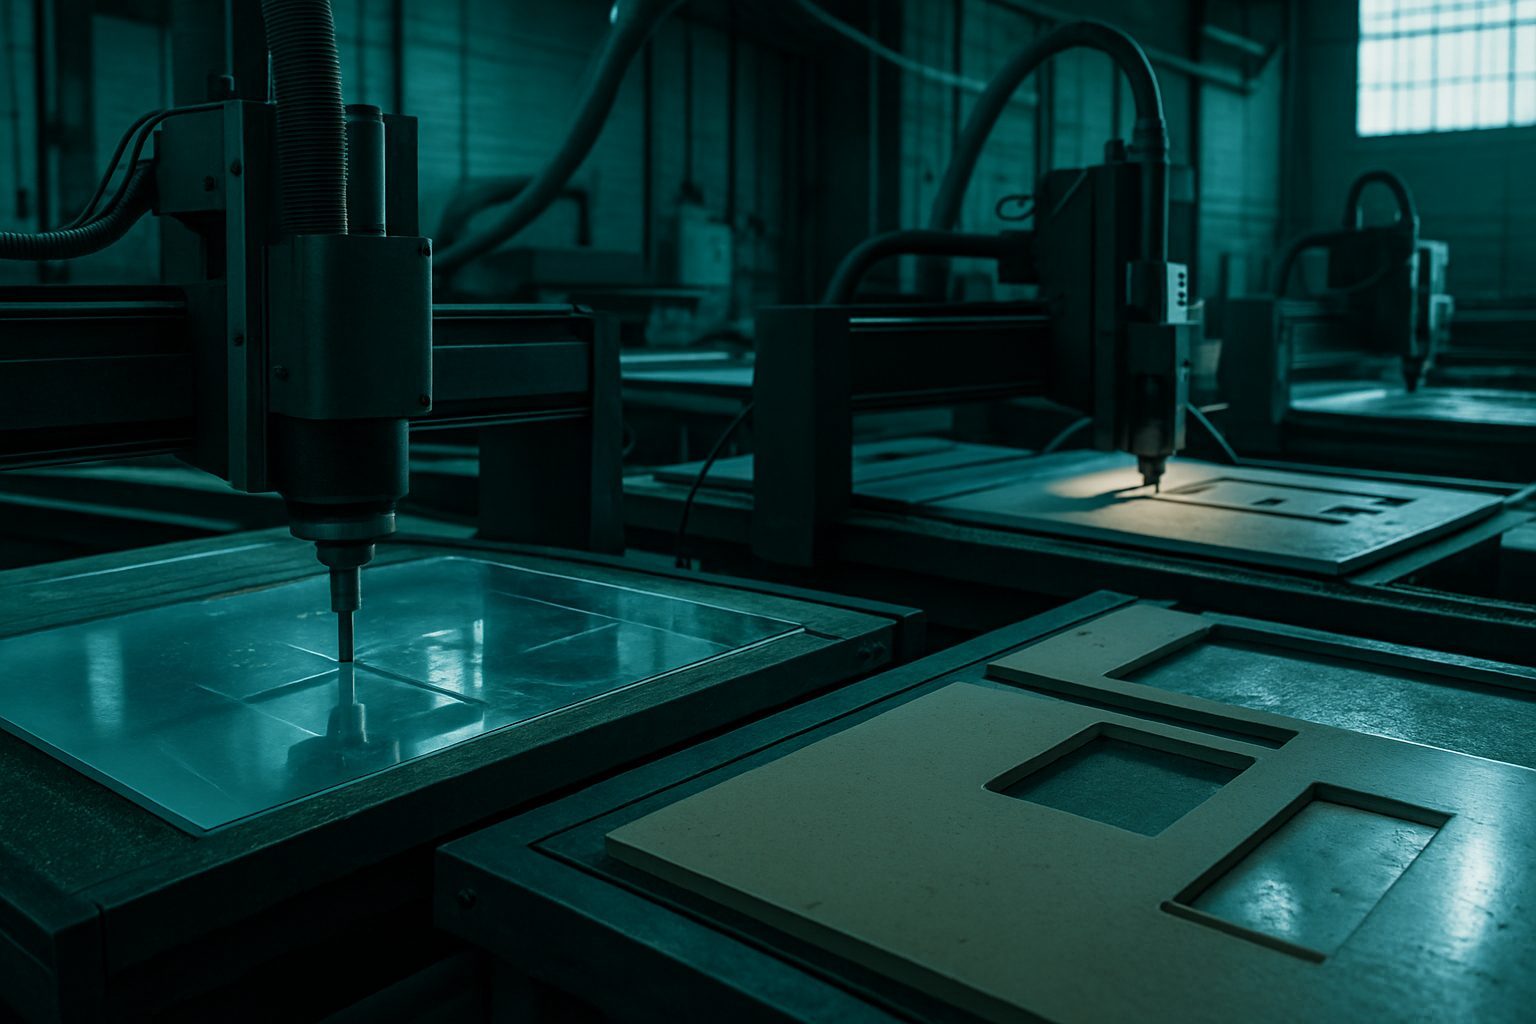
Prototype Cut Bay is where you get quick sample cuts, real fit checks, and first nest runs for your production team. Here, you will see exactly how to choose the right machine for your job and steer clear of the usual workshop headaches.

If you are working with dense hardwood or high-grade aluminium, make sure you confirm the correct tool path and clamp method before your first prototype cut. We have seen many teams lose a whole afternoon because a heavy board slipped during a test run. A quick check is to mark your clamp points and double-check for any flex at the edges before starting the machine. This is especially important on Highveld mornings when temperature swings can affect material expansion.
One local team recently brought in a batch of composite panels for HVAC ducting. Their early test run revealed a slight bow in the material, which would have thrown off their final install if caught later. By running that first nest in Prototype Cut Bay, they caught the issue, adjusted their hold-down method, and avoided a late-site rework. Always check for flatness and confirm your holding setup before you commit to your production sheet.
Industries · Blog · Contact us
Before you commit a full sheet nest, Prototype Cut Bay proves fit with the same tools as production.
| Window | Same-day typical |
|---|---|
| Tools | Production library |
| Proof | KerfCheck |
| Formats | DXF / STEP |
| Use | R&D & jigs |
Prototype Cut Bay is built for quick-turn parts, fit checks, jigs, small-batch samples, and first-run nests, when you must see if your line drawing works in steel, aluminium, timber or foam before scaling up. This bay is not an R&D playground, but the dependable choice for teams from Bloemfontein to Durban who value clear setup notes and a handoff that keeps the next shift moving. The focus is on turning your production intent into tangible parts you can measure, clamp, and fit without the two-day cleanup. It covers the technical glue between a design meeting and a confident PO.
Workshop buyers, production managers and technical teams across Gauteng and beyond use Prototype Cut Bay when they need sample parts on the bench fast, but do not have the time or appetite for experimental setups. School furniture makers, HVAC fabricators in Gqeberha, shopfitters in Polokwane, and anyone preparing for a larger MultiSheet Nest run find this bay reduces the risk of costly second visits. It suits jobs where you want clarity, on tolerances, part orientation, or nest layout, early, before committing full spindle hours or complete sheets.
Start by writing down your main constraint, material, noise, footprint, or turnaround, and compare it to each machine’s strengths. Prototype Cut Bay serves as the generalist, perfect for first-pass testing and mixed-material batches, but not always the best for silent or ultra-fine work. For acrylic or signage, something like AcrylicClear Cut or SignBoard Profiler may fit better. Larger, production-scale runs might need the NestCut CNC Panel or MultiSheet Nest. If you try to force a job outside a machine’s brief, you risk late projects, second visits, or expensive bench time. Review the Prototype Cut Bay specifications and related nesting & fixtures before your decision.
Many teams rush straight to production without first writing down their constraint map (material, edge finish, bench routing, timing), leading to missed tolerances or parts that don’t match shopfloor intent. Another frequent error is picking the first available machine, instead of checking if a more specialised unit handles noise, dust, or tight radii better. If you skip the constraint step, expect a phone call about a rush fee or extra site visit. We keep a running note internally on what tripped teams up last time, to avoid repeat misses. If it’s your first run, two photos and a timing window are enough to start. See full Prototype Cut Bay service details and review a recent project before sending your brief.
A good brief keeps your parts moving forward. Before you email, make a short checklist: list your top constraints (material, tolerance, timing), attach two photos of your site or part, and include a clear delivery window. If you’re unsure, visit our machines overview for comparison, or ask about a try-on at the Isando nest bay. We document feed rates, holding settings, or handling notes, so both your night shift and our operators know exactly what to expect. For help, send a message through our contact form and reference any recent blog notes or projects that relate to your job.
Verified Google reviews