Workshop Compact nesting and fixture options help South African assembly floors run with less mess and less wasted time. Match your working habits and hardware to the real constraints on your shop floor for smoother assembly and fewer headaches.
One common slip on South African shop floors is loading sheets the wrong way round, especially with materials like ACM or pre-finished MDF. Always double-check the orientation before starting the nesting run. If the face or grain direction matters, mark it clearly as soon as the board arrives. This avoids mismatched panels or visible surface defects showing up in the assembly stage.
In busy shops, it helps to put a simple checklist at the nesting station: correct side up, edges square to the stops, and clamps or vacuum pads placed for the smallest offcuts. This extra minute before the cut can save hours of rework. If your team works shifts, make it a habit to sign off each setup. It keeps the next operator from wasting material or running into unexpected jams.
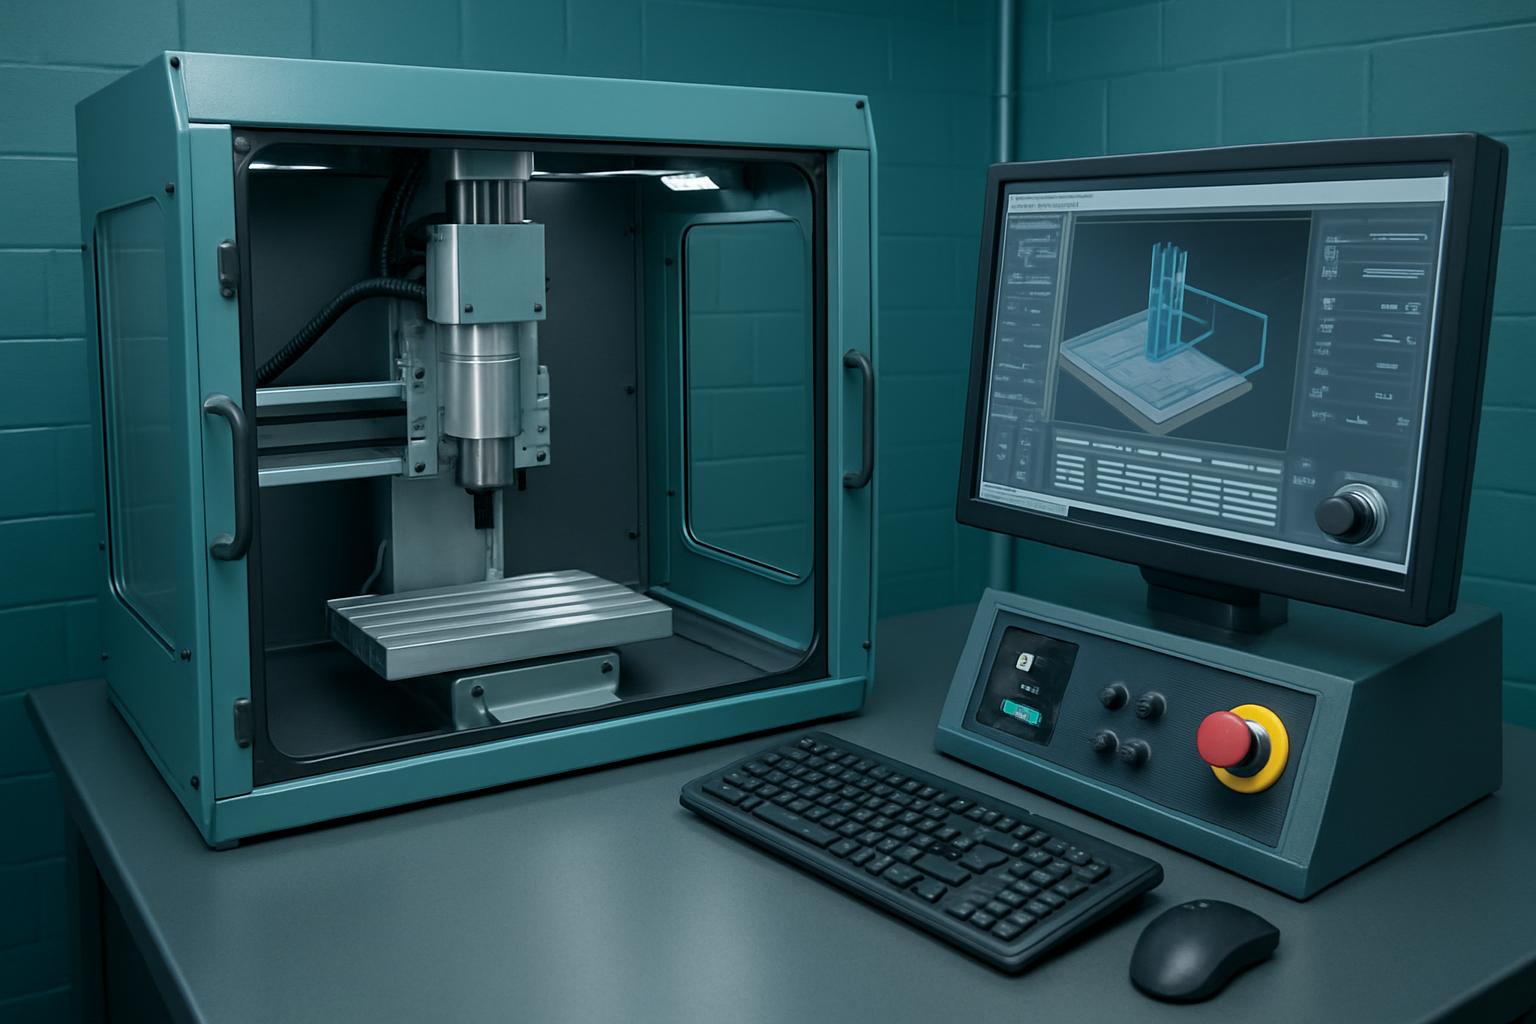
Nesting on the Workshop Compact is about loading your usable sheet material into the smallest footprint that still leaves all the features and finished edges available. It is not just about saving a few metres of material (though it does help, especially when each Rand counts). It is about how quickly your team can move from a pallet of cut parts to a dry fit or even first assembly, without scraping the corners or hunting for a missing bracket. Fixtures, in this case, cover the hold-downs, stops, slides, and support bars that keep your parts in place. We spec these for South African realities, from Highveld wind that drags dust through any open roller door to coastal humidity that can warp ply or MDF if you leave it too long.
Workshop Compact nesting is designed for teams who need solid throughput without tying up an operator at every turn. It fits panel shops, cabinetry teams, prototyping bays, signage, light fabrication, and busy school workshops. If you are working from sheets, want reliable part numbers, and do not want to pay for extra hands just to trim or deburr, this system will suit you. It is not for anyone tackling heavy-gauge stainless, doing five-axis work, or working in a draughty garage where the power supply is unreliable. If you are affected by outages and lack a three-phase backup, production will need to pause until the power is restored.
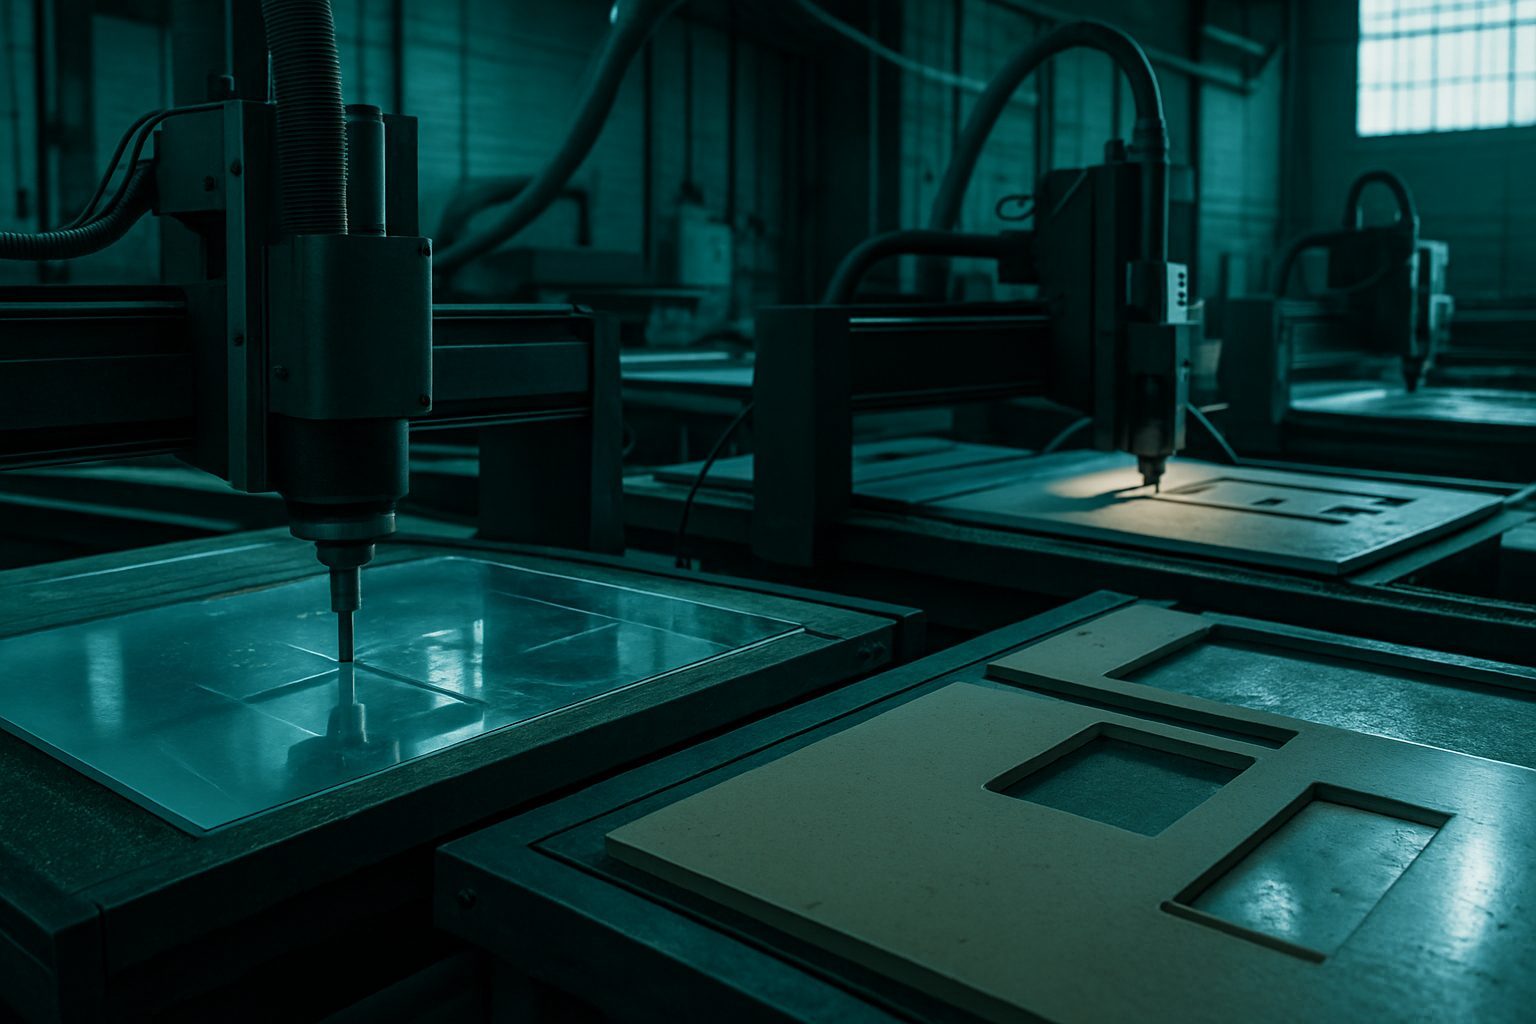
A day on the floor usually starts with the foreman reading the nesting printout against the stock on hand. The operator checks that the support bars and hold-downs match the part shapes the nesting programme spat out (and that no offcut overhangs stray past the safety line). In Paarl and Gqeberha, it is common to leave a stack of nested ply or MDF to acclimatise to ambient humidity before the first pass, but in Germiston, some cut straight from delivery. Once the sheet is on, it is clamped or vacuumed in place, and the nesting path runs its course. The main win is that every bracket, shim or gusset comes off the sheet in order, ready to hand off for edge-banding or paint, without a double handling step. If a support bar is off by half a millimetre, you will hear about it from the operator long before the part jams on the next jig.
Suppose you run a Durban panel shop cutting a small production batch of melamine shelving. Your shop buys standard 2.75 m by 1.83 m boards. The job calls for multiple shelf sizes, two back panels, and a bundle of small bracket plates. With the Workshop Compact nesting, all shelf and bracket shapes are laid out in a single run across the board, minimising waste and saving a full extra sheet per four units. The fixture stops are set on the short side, and vacuum holds down the narrow brackets so nothing shifts under the cutter. After the pass, each part is ready for edge-trimming, still square, and no operator needs to recut the smallest piece by hand.
A clear brief means your job moves quicker, with fewer steps missed. Before emailing your Workshop Compact requirements, note your main constraint, whether it is material size, available power, staff hours, delivery timing, or something unique to your floor. Attach any drawings, rough sketches, or PDFs, even if they are not final. Two or three photos of your current bench or jig setup are useful, especially if you have tricky corners or older fixtures. List unusual factors like warped floors, a shaky 230 V supply, or municipal service challenges. You do not need to send a perfect spec. We reply with a practical sequence for your job so you can plan real work, not guess what comes next.
Teams that skip the constraint step often land up with a finish or fixture that works well for the catalogue but not for the day-to-day dust and delays in South African shops. It is easy to pick a flashier option that needs a specialist, only to lose time mid-job when a cheaper, simpler fixture would have survived the grit. Double-check that your support bars and stops fit your actual sheet size, not just the model spec. If you are not sure which fixture or nesting pattern matches your shop flow, ask us. We keep notes from similar jobs, including what failed, so you do not repeat last month’s bottleneck. See also Workshop Compact specifications and Finishes for more on material options and compatible finishes.
Verified Google reviews