Here we cover MultiSheet Nest nesting and fixture choices for South African shops. Find the habits, prep, and practical advice that keep your next sheet job on track.
On the ground, one of the quickest ways to spot trouble with MultiSheet Nest setups is to check your first and last board after a test cut. Lay them side by side and compare the profiles and hole positions. If you see even a 2 mm drift or an edge that does not match, stop and review your fixture pins or vacuum hold-down. In coastal shops, a sudden change in humidity can swell outer sheets, throwing off the stack. In Gauteng, dust under the bottom board can create a ripple that ruins alignment across the batch.
Teams who rush this check often end up with a pile of panels that look fine on top but need extra trimming or fill at assembly. Build in one minute for this check each time you load a new batch, especially if your sheet stock or thickness varies. It is a simple habit that saves hours of rework and keeps your production consistent.
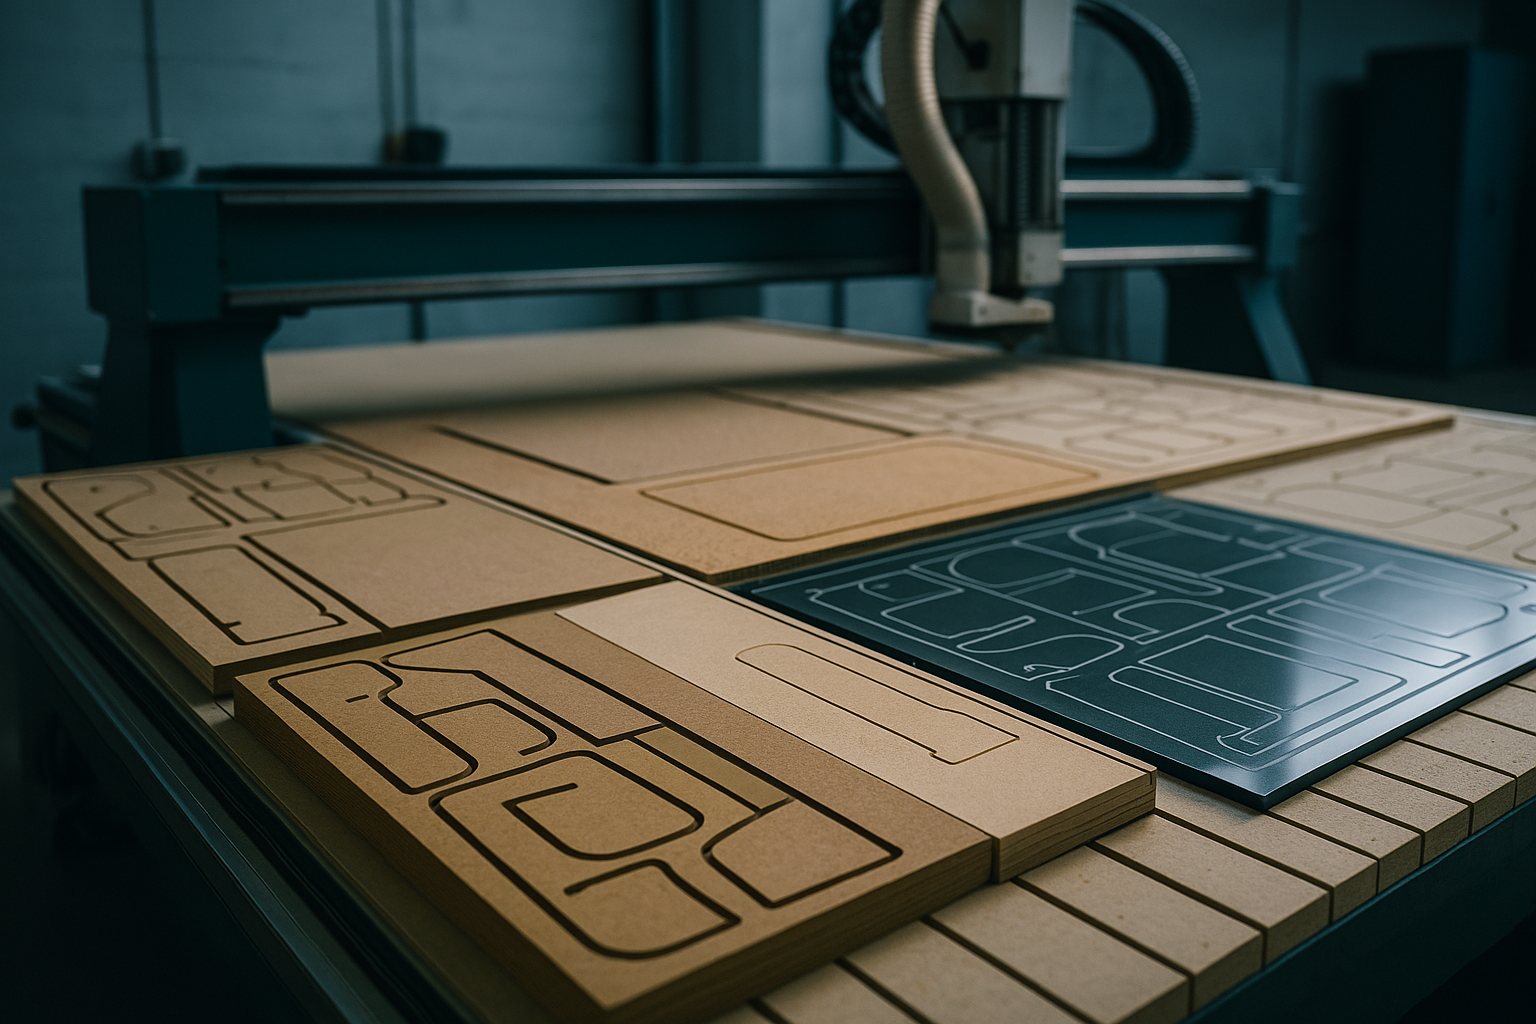
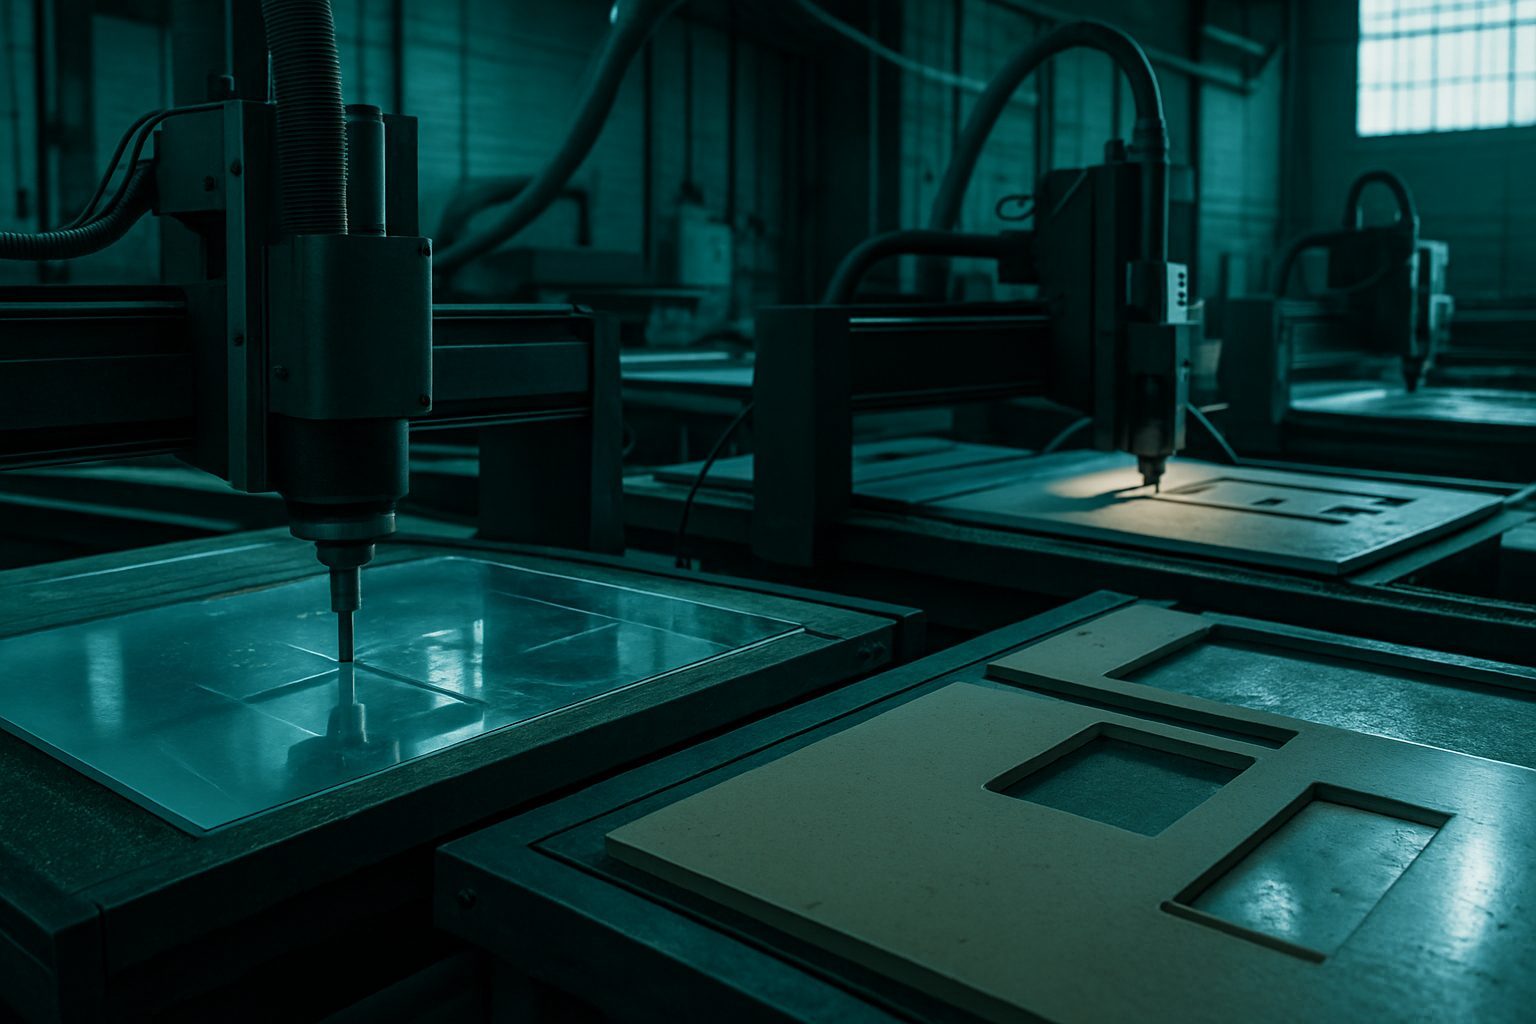
MultiSheet Nest is the nesting and fixture approach we use for jobs that need multiple parts cut from one or more sheets in a single setup. Instead of stacking sheets by hand and marking by eye, this method guides each cut to maximise usable area and reduce waste, even when your board batch is mixed, offcuts are included, or transport between Gqeberha and Mbombela means sheet sizes shift. Fixtures hold each sheet true, so profiling or pocketing matches spec through the stack. Your team gets predictable stacks, fewer clean-up hours, and far less scrap than with manual marking and clamping.
MultiSheet Nest suits workshops that produce regular runs for shopfitting, signage panels, cabinetry, or packaging where you cannot tolerate mismatched parts. It works for joiners in Bloemfontein who want every shelf interchangeable, as well as Cape Town sign shops making batches for a mall rollout. This approach is less suited to one-off, hand-shaped projects or when every part will be finished individually by eye.
MultiSheet Nest is a fit for production runs, contractors who need time savings, and teams pressed by fast turnarounds. If your operation runs in a Highveld industrial park with variable power or a Durban coastal works with damp MDF stock, fixtures ensure alignment even if humidity swells the outer boards. Teams without a dedicated operator can still use these habits, as the process does not require a CNC technician on standby. However, if your cuts must all be different, or every finished item is shaped one by one on a bench, classic profiling or hand jigs may fit better.
If space is tight or you change sheet types every day, the fixture approach may slow you down. For short runs with odd-shaped blanks, a quick clamp and manual trim could beat a setup.
In a typical Gauteng joinery, the crew receives a job for 160 cabinet sides from melamine. The CAD operator sends a nesting file showing each panel's outline, with a note on grain direction. We load the stack, pin every sheet with dowels, and run the MultiSheet Nest routine. The fixture ensures even the bottom board stays locked, so every cut lines up. Offcuts are minimised - what is left are strips ready for shelves. The team gets their panels, dusted off and sorted, all ready for dowel holes or edge-banding, with no rework needed. No one loses time sanding mismatched profiles or hunting for a missing side.
For us to give you a practical answer that suits your workshop, tell us your main constraint upfront. Whether it is grain direction, minimum waste, a certain edge detail or a machine limit, write it down. If you have a drawing or cutlist, attach it, even if it is scribbled from last week’s pricing. Two phone photos showing your current stacks or output help too, especially if you are moving jobs between cities or working around power cuts.
You will get a direct, step-by-step plan from us, not a generic response. This approach takes out the uncertainty and helps you achieve a finish that matches your requirements.
South African floors have their own quirks. Coastal shops in Gqeberha deal with humid ply and sticky MDF. Up in Gauteng, Highveld dust clogs vacuum beds if the operator skips a clean between batches. If the constraint is not clear, it is easy to get a batch where one part needs trimming by hand and the rest don’t fit at assembly. For teams that rush the brief, a missing note on fixture spacing can mean an afternoon lost re-cutting sides or a last-minute scramble when the next operation finds holes out by a few millimetres.
When in doubt, we check our internal notes for where a job last slipped (for example, a changed finish or spec drift after a truck trip to Mbombela). That helps prevent repeat mistakes with your batch. If you want the team to run MultiSheet Nest for you, send a message through our contact form, and we’ll map a plan that fits your site’s real constraint.
If you’re comparing MultiSheet Nest with other approaches, browse our MultiSheet Nest specifications or see machines in action. For those after a quote or practical advice, send a message through our contact form and mention your city and required timing. Our bay is set up for most common finishes, and we’ll point you at finishes if you want a clean edge direct off the machine.
Verified Google reviews