Blog
Nesting before you cut
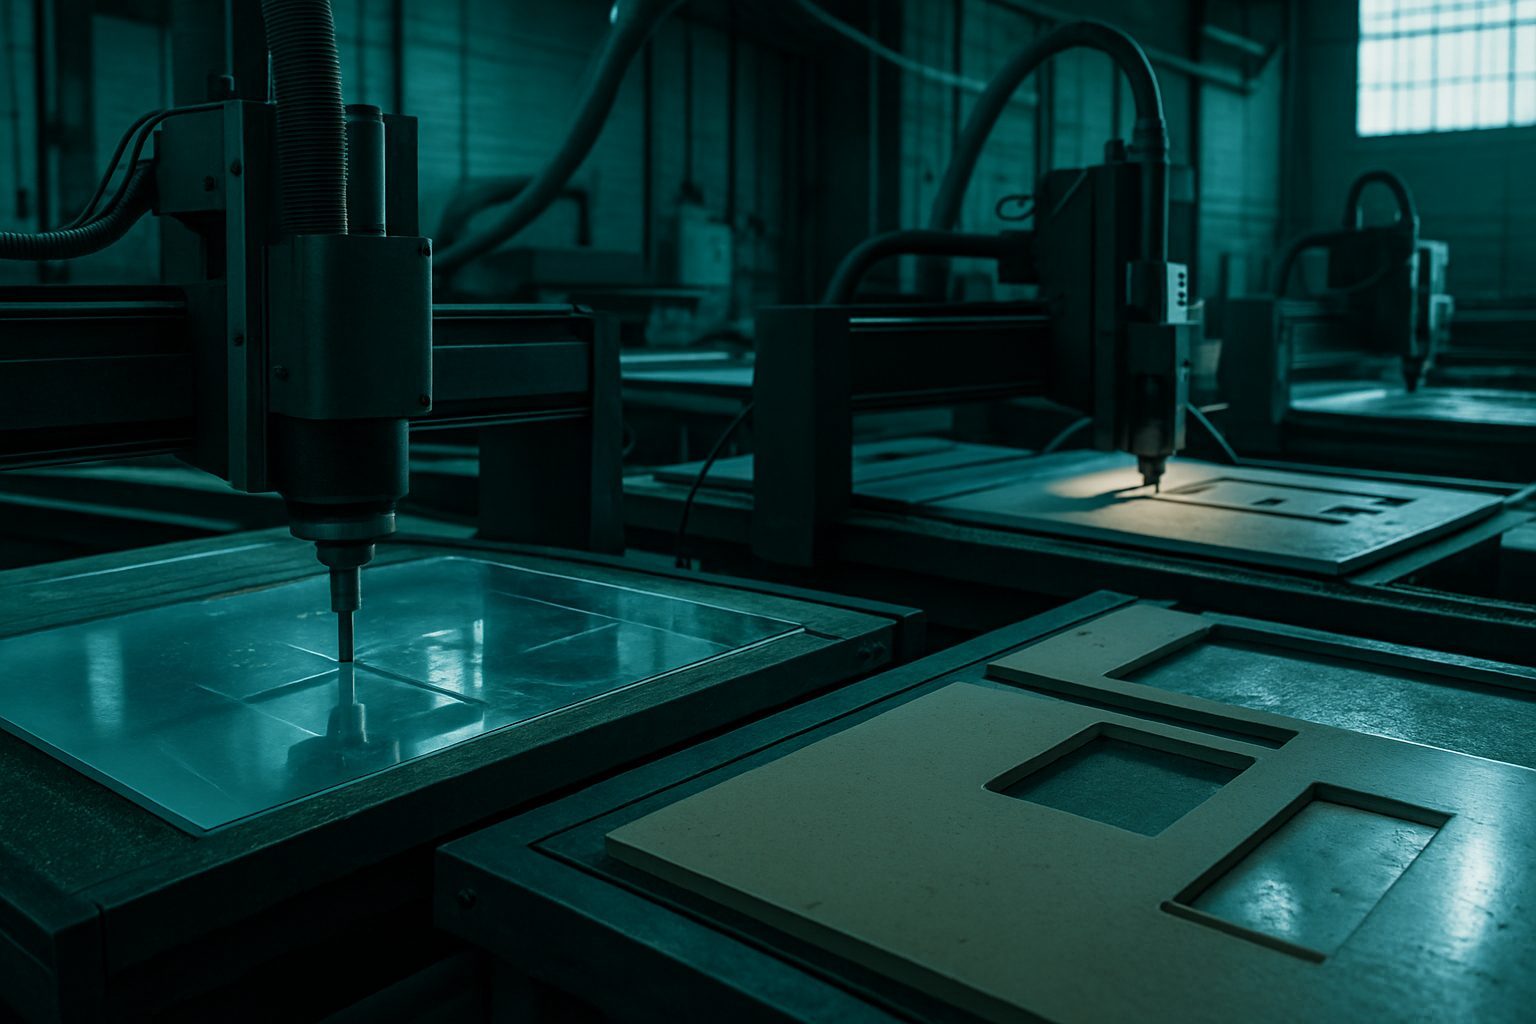
True-shape nesting delivers better yields and tidier parts for South African workshops than simple grid layouts. Here we share how our team plans, checks, and runs nests that suit real jobs from Gauteng to Cape Town.
Checking edge quality after nesting
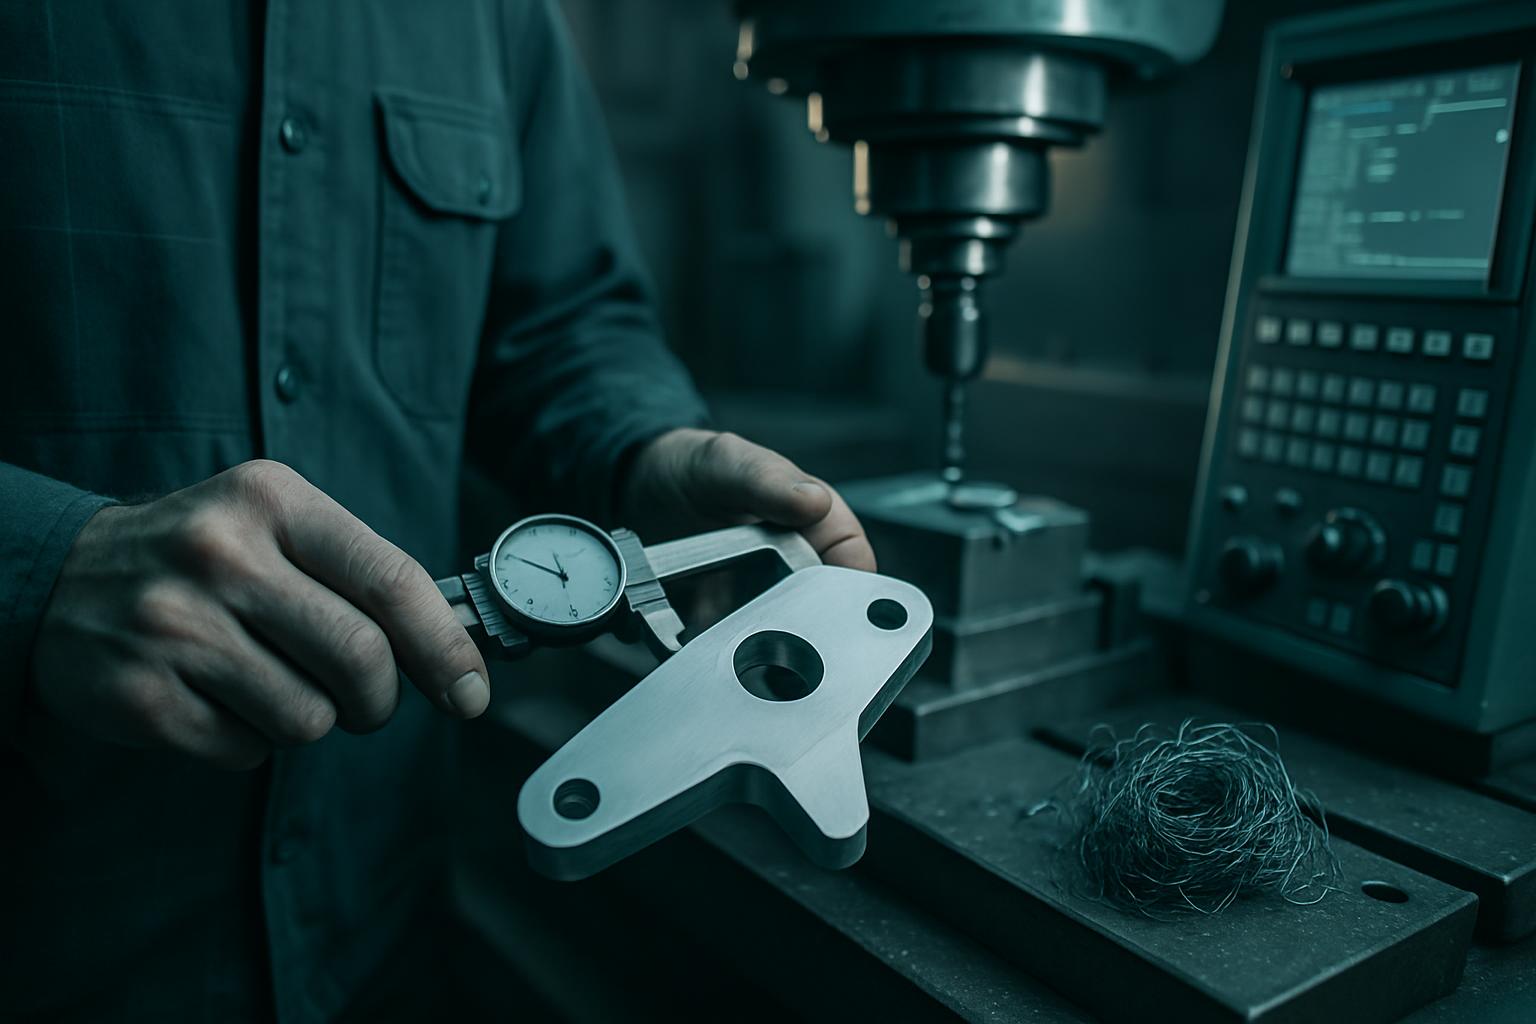
One key step after running a true-shape nest is to check the edge quality on the first few parts off the machine. Even with the best layout, tight nesting can sometimes create pinch points or leave thin webs between parts, especially when shapes have deep curves or internal cutouts. We always inspect these areas for clean separation and minimal burring before continuing with a full production run.
In South African shops, highveld dust or coastal air can affect how material moves during cutting, so we often run a dry pass to see if the sheet shifts under vacuum. If any part shows rough edges or slight movement, we adjust the nest spacing or tweak the vacuum hold-down. This quick check saves time on sanding and avoids wasted material down the line.
What we recommend
Combine true-shape nesting with our NestCut CNC Panel system for the best use of your sheet. If you want to see how your own layout performs, arrange a demo at Sunnyrock or one of our regional showrooms and bring your actual part files.