
Blog

Edge recipes for MDF faces

Many South African workshops run into trouble when MDF faces get edge-banded without a clear profiling recipe. This guide shows how to brief profiles that last through banding and handoff.

Edge recipe checks for coastal and inland shops

In South African workshops, climate can catch out even experienced teams. On the Highveld, dry winter air makes MDF edges brittle, while along the coast, humidity can cause swelling or a fuzzy edge if the wrong profile is chosen. Before starting a run, always check your MDF batch for moisture and density. Cut a short test strip with your planned profile and banding method, then leave it overnight in your shop’s conditions. Inspect the edge in the morning for swelling, lifting, or roughness. This quick check helps avoid edges that fail after banding, especially on jobs shipping between regions. It is a small step that can save a whole order from rework or customer complaints.

Keep exploring

Industries · Machines · Contact us.
What we recommend

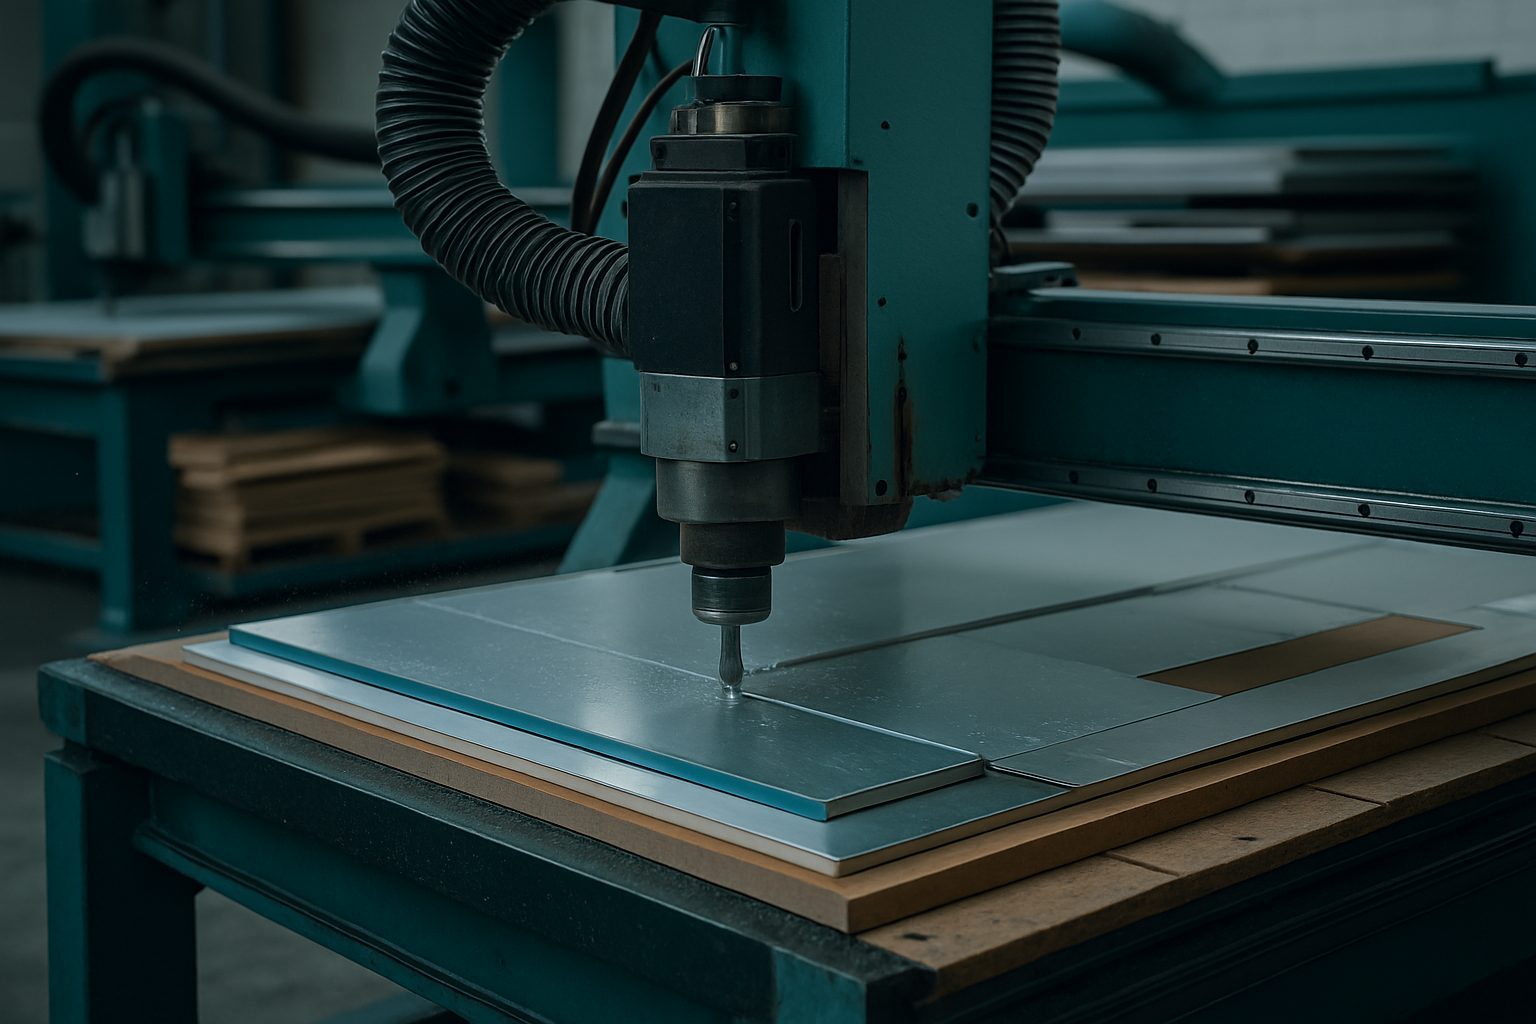
Test your next MDF edge recipe by cutting a sample on our ProfileEdge Router. Bring your own offcut or specify a leftover, and we will run your profile so you can see the finish in person at Sunnyrock or any of our regional showrooms. This hands-on proofing helps you lock in the right edge before you commit a full batch to production.

What MDF edge recipes cover and who should use them

Edge recipes for MDF panels are short, specific instructions that tell a cutting crew which radii, chamfers, and profiles to cut on panel faces, before any edge banding takes place. These are most useful for teams in furniture, shopfitting, joinery, cabinet making, and interior build-outs where precise handoff from profile cutting to banding matters. If your operator, project manager, or contractor keeps phoning back to check a detail, you likely need a clearer edge recipe. For small runs or basic shelving, a recipe may be overkill, but wherever you need sharp fit-up, repeatability, or time saved on installation, a recipe helps avoid second visits. See how these principles apply in our kitchen carcass nests and brackets that bolt first time notes.

What goes wrong without a recipe

Without a clear edge recipe, edge banders and installers often guess at profiles or repeat visits to measure on site. This wastes workshop time and leads to mismatched radii, exposed MDF edges after trimming, or edges too thin to hold a band in daily use. In our Isando bay, we see this most on jobs where the brief is verbal or open-ended. Highveld dust or coastal humidity can also highlight rough or mismatched edges after banding, especially on high-touch furniture. Recipes avoid the Monday morning surprises and extra labour. For more on keeping shops tidy, see our remnant racks that stay tidy write-up.

How we apply edge recipes on our floor

When a drawing arrives, we first confirm your edge constraint: do you need a 2 mm radius, a crisp 45-degree chamfer, or a stepped edge for a thick PVC band? We then check if the profile will survive banding, including heat and trimming, and confirm who signs off before the panels leave the floor. The operator notes whether we are using our CNC or another profiling machine, and who will handle the banding, your crew, ours, or a third party. We record the recipe on the job traveller so every bay knows the spec. South African buyers often work around early-morning signoffs or power cuts, so we make sure all edge details are confirmed in writing before any spindle time begins.

A sample worked example

A Johannesburg furniture fitter needs 16 mm MDF counter faces with a 3 mm top radius and a square bottom edge, all ready for a matt white PVC band. The fitter emails us a PDF with profiles marked. Our team checks if those radii will survive edge banding and trimming. We recommend shifting to a 2 mm top radius (better for the banding process) and confirm the edge order on a single page. The fitting team receives parts with the correct edges, no shavings to clean, and bands that stay put, even through a winter of dry Highveld air and site handling. This saves the fitter a return trip and avoids hand-sanding on site.

What to send before you email

To get the right edge recipe on your job, the more precise your brief, the better the result. We do not need a full CAD pack, but a clear one-page PDF or even a hand sketch with dimensions and notes helps.

If you are running your own bander or sending parts to a contractor, flag who signs off and where the handoff happens, on the floor or on site.

Common pitfalls and how to avoid them

The biggest mistake is skipping the constraint step: not writing down the one real limit (timing, access, machine, finish) before picking a fancy chamfer or radius. Teams that rush this usually pay later, either in rework or a rush fee for overnight fixes. Another pitfall is assuming installers will resolve minor mismatches, many do not have bench tools on site, especially in Gauteng’s new office parks or Cape flats. Double-check that the profile matches the band and that the recipe is clear to your cutting and banding crews. We always prefer a blunt question at the start rather than a nice-looking error at the finish.

If you want to talk through your next MDF faces order, send a message through our contact form and mention this article. You can also browse our machines and finishes pages for more technical details and options.

Talk to Cut2Shape

Our contact form · Sunnyrock nest floor