Blog

Showroom demos that matter

A showroom demo should be more than a quick show. Here’s how we help South African teams get demo cuts that actually fit their real jobs and won’t waste a shift.

Demo checklist for tricky installs

When planning a demo for a job with awkward install access, like a rooftop HVAC or a back-of-house fit, always walk the route with your install lead first. We have seen teams lose hours when a finished panel could not fit through a stairwell or lift. Before your demo, measure every tight spot, doorway, and turn. If you are working in an older industrial block, check for uneven floors or unexpected steps. Bring those measurements and constraints to your demo session. It is much easier to tweak a cut plan on our floor than to cut down a finished part on-site. Mistakes often come from assuming access is simple when it is not. A careful recce before demo day saves time, material and a lot of frustration.

Workshop context

What to cut on appointment days.

What we recommend

If you want real assurance on your next run, use KerfCheck Lab to test your settings, then book a demo at Sunnyrock or a regional site to see your own sheet cut in real time. It is the best way to confirm your results before committing to a batch.
What makes a demo matter in a South African context

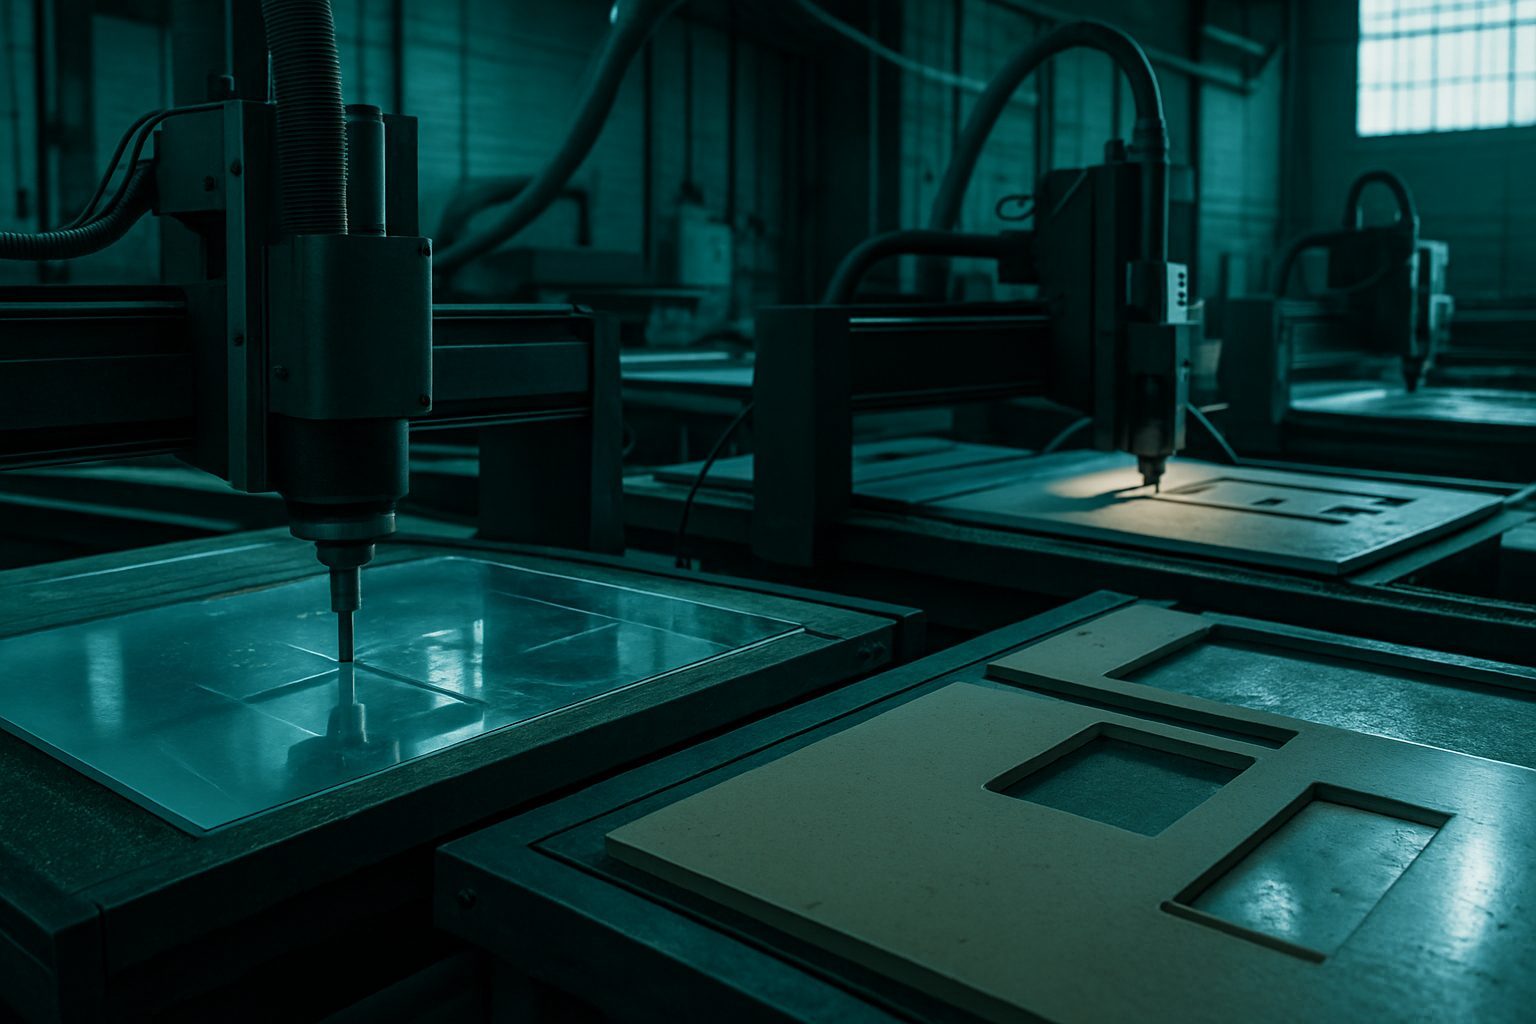
Workshop teams are not looking for another sales talk. What matters is demo cutting that fits their real floor conditions, from power supply limits to tight access or slow sign-off. Our demo sessions tackle actual problems, not just make a pile of offcuts. We run demos using the exact setups you have in Gqeberha, Mbombela or Germiston. These are based on jobs we have already handled, with the usual last-minute headaches that never show up in a showroom. Every demo is shaped by the jobs you face, not by a glossy spec sheet.

Demo cuts only help if they mirror the process you need to repeat. That is why we start by asking what slows you down, not just what material is in the rack. Whether your team is running on three-phase in an industrial park or sharing a line with an old plasma cutter, the goal is a demo that you can brief to your contractor or crew, without another round of calls.

Who showroom demos do and don’t suit

Showroom demos work best for teams with a concrete brief and a known pain point. If you are running new line trials, onboarding hires or proving a process before investing in a finish or device, a focused demo session saves you a wasted batch. Contractors, production managers, and technical leads get the most from these demos because they can translate onto the floor the next week.

A demo session is less useful if the brief is vague, or you are just browsing catalogues. If your process depends mostly on custom once-offs or you are still making up your mind about materials, the session may not deliver much. Our demos are not mass-marketing events. They are working walkthroughs for production floors, not for show-and-tell.

The practical order of work for a demo day

A solid demo does not start with a finish. It starts by writing down your main constraint, access, timing, power, connectivity or sign-off. Once that is set, we walk through the work in a clear, practical sequence. First, confirm the brief in one page, with all the key measurements and process limits. Second, pick the machine path that matches your job, not the shiniest option. Third, walk the plan with the person who will be on-site, not just the supervisor. Fourth, leave a short close-out note before anyone loads the next job or changes a fixture.

We have seen too many demo days unravel at 06:00 because the foreman did not have a signed brief, or the power feed was still locked in the admin office. It is basic, but skipping these steps usually means a second visit or a rush bill for rework.

A worked example from a Gauteng floor

A Gqeberha HVAC team needed to confirm their template would fold cleanly on site before committing to a bulk order in 3 mm aluminium. They emailed their constraint: ‘Access is tight, last batch warped at edge when folded, we only have 230 V single-phase during the demo.’ Instead of a generic demo, we ran their template on the floor, midweek, using the shop’s actual supply. The demo flagged a fit issue at the corner fold, and the team avoided sending out a batch that would have failed install. After the session, they left with an updated drawing and a close-out note for their night shift.

This is the kind of outcome we aim for: a demo that sorts the real pinch point, not just puts material through the spindle. If you need a process like this for your team, start by reviewing the Showrooms and Machines pages for setup tips.

What to prepare and common pitfalls

Before booking a demo, write down the main constraint in your process, power, access, timing or sign-off. Bring all drawings, specs and install notes that reflect actual conditions. Double-check mains supply and access rules if you are in a secure park or on a shared floor. If you are not sure which machine matches your job, email us first with your outline. Demo sessions run smoothest for teams who have already walked the path on paper, with buy-in from both the technical lead and whoever signs off jobs on-site.

Common pitfalls include bringing the wrong stock on demo day, assuming the team has access to the right power supply, or failing to get a sign-off from the actual person on the floor. Overlooking basics means losing a shift, paying for a second run or sitting in Highveld dust waiting for admin to open the gate.

Talk to Cut2Shape

Our contact form · Sunnyrock nest floor