
Blog

Finishing after the cut

Finishing after the CNC cut keeps your parts moving in the shop, not stuck at a bench for hand sanding. We cover edge polish, paint-ready faces, and clear handoff notes for South African floors.

Weather and handling matter

South African weather can make or break a finish. On the coast, humidity can leave fingerprints or affect how certain finishes cure. In Joburg, dust from a busy yard can settle on freshly cut edges before they are wrapped or moved. Our advice is to plan your handling steps and wrapping as soon as parts leave the CNC. If your job will travel between cities, let us know. We can add a protective film or recommend the right cleaning method for your material and route.

One common mistake is skipping the wrap or leaving parts exposed overnight, especially before paint or glue. Even a short exposure to moisture or fine dust can affect the quality of your next process. Small checks, like inspecting for residue or confirming wrap before loading onto the bakkie, help maintain a finish that holds up from the shop to the site.
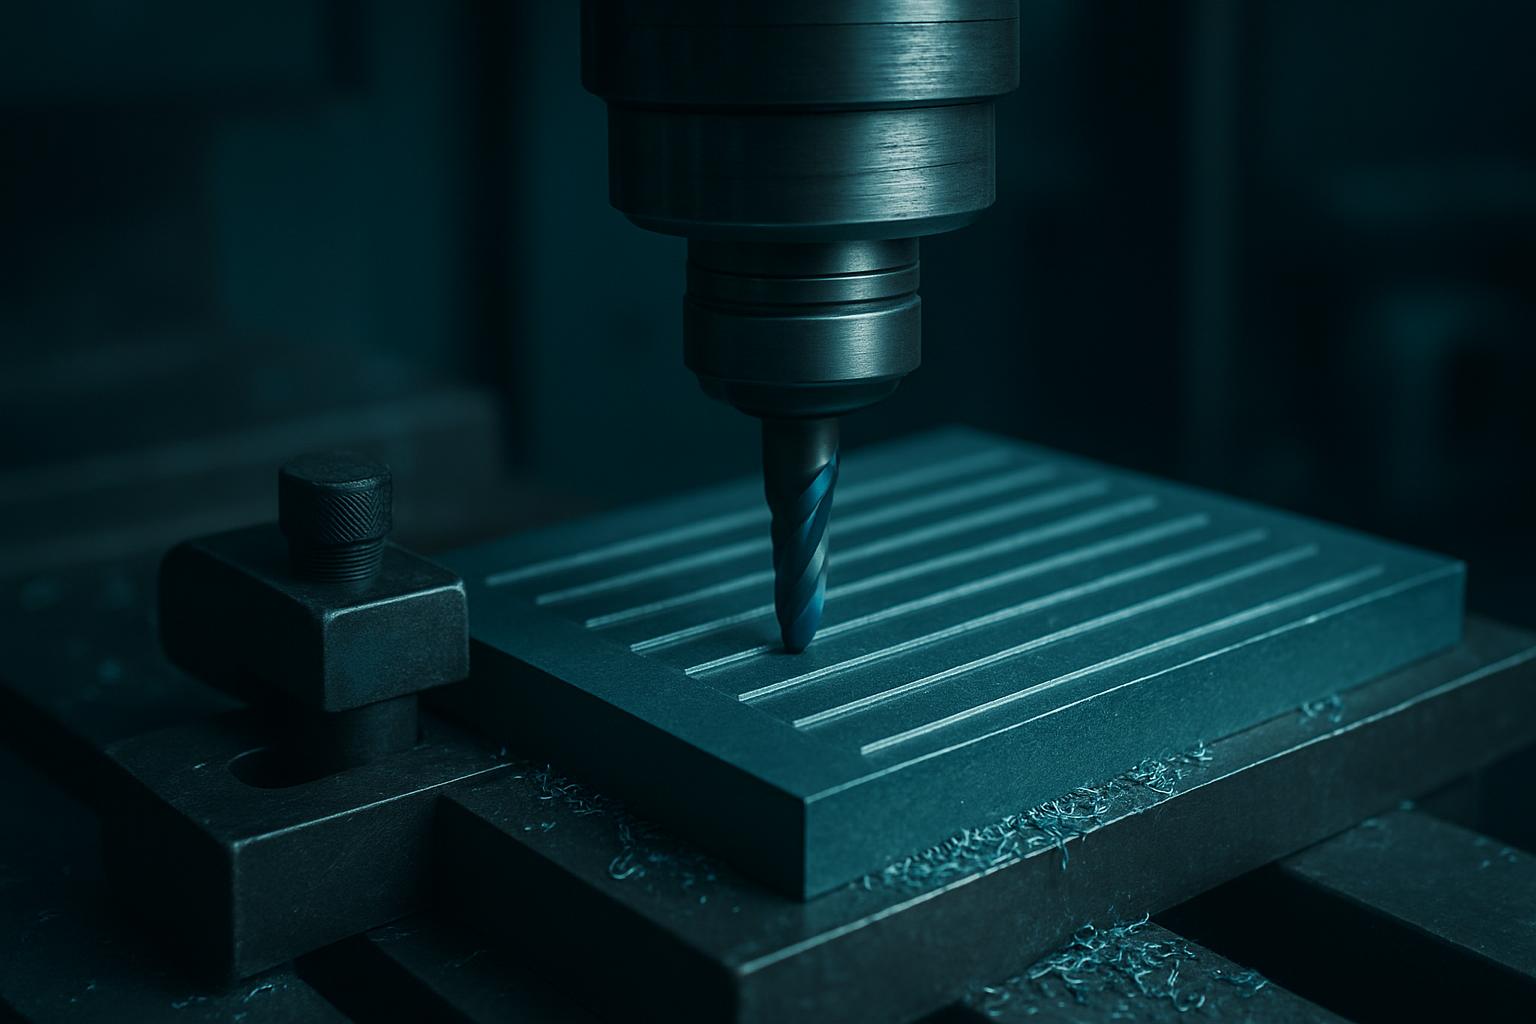
Workshop context

Edge polish, paint-ready faces, and handoff notes.

What we recommend

If you want a real-world check on your finishing standard, try our AcrylicClear Cut process and arrange a hands-on demo at Sunnyrock or any regional showroom. Bring your own sheet and see how our edge polish or paint-ready finish stands up to your next operation.
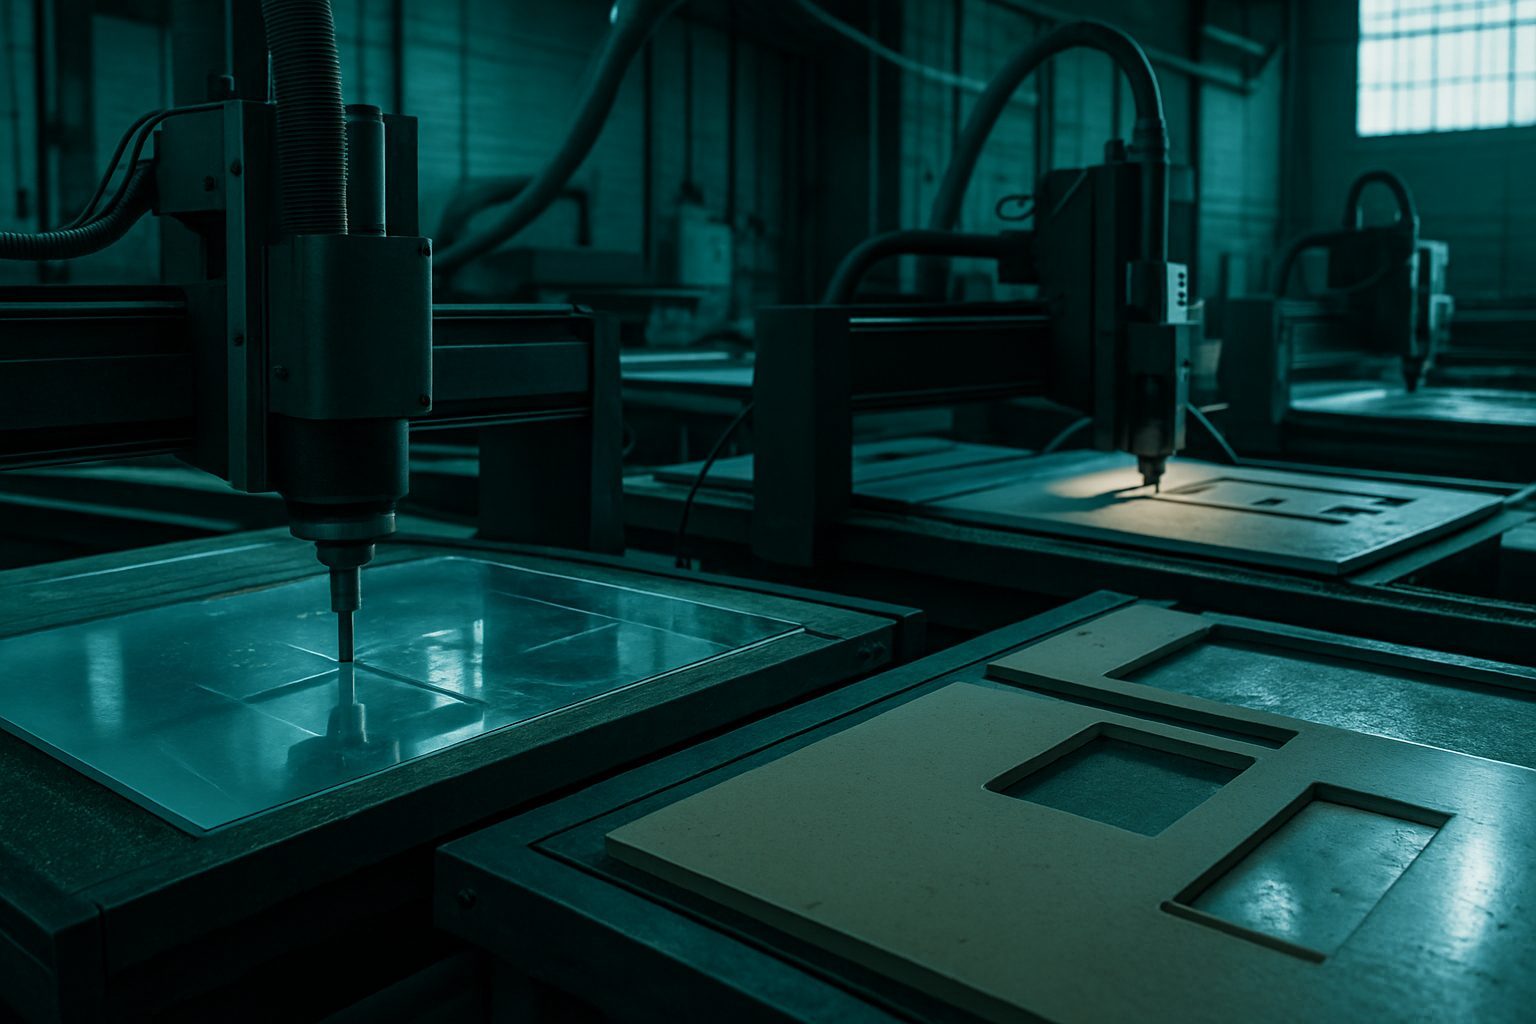
What 'finishing after the cut' means in the real world

The job does not end when the CNC stops spinning. In our shops, the real test is how quickly your parts move to the next team without extra sanding or chasing sharp edges. Finishing after the cut can be anything from a neat de-burr to a full prep for paint, depending on your next step. Some crews need a clear label or safe edge, others want their parts cleaned, marked up, and ready for powder coating or assembly. We record these finishing steps from actual jobs, for example in Worcester or Pretoria, cutting out the fluff and focusing on what matters when it is wet in Gqeberha or dusty on the Highveld.

Who gets the most value, and who should consider alternatives

Workshops, fabricators, and contractors who run production on tight deadlines benefit most from a well-briefed finishing step. If your operation moves parts between separate bays, or your team relies on outside installers, clear finishes save you time and call-backs. This suits owners with a sequence to follow, from first cut to final coat. However, if you are a hobbyist making a one-off bracket for your own bench, or a design studio that insists on hand-finished surfaces, you may prefer to keep the final polish in-house. Large manufacturers with in-line finishing systems might also skip this service and only ask for a clean cut.

How it works in South African shops and projects

Good finishing starts long before the machine powers up. We first check your key constraint, like three-phase supply, tight deadlines, or who signs off at your site. Then we recommend the right finishing path. For instance, when a Durban team needed 80 aluminium tank lids with smooth edges and paint prep, we delivered with a light orbital finish, edge de-burr, and a clear handoff note for their contractor. That saved hours of sanding and kept their line moving, even with power or municipal outages. If any detail about access, timing, or delivery is unclear, we stop and ask. One extra question now is better than a last-minute rush or a missed finish. This approach saves both time and nerves, week after week.

Worked example: edge polish for a panel run

A sign company in Gauteng needed acrylic panels with a polished edge for a mall fitment. They wrote a one-page brief stating that the panels should be ready for direct mounting, with no visible tool marks or roughness. After checking their need, our operator matched the CNC path and finishing pass to the correct tool. We ran a test cut, sent a snap to the owner's phone, and confirmed it met their standard. The job shipped with a label indicating polish direction and a short note about cleaning: the next contractor could mount straight away, no extra sanding or fuss.

Checklist: before you email us about finishing

Clear preparation reduces back-and-forth and helps the Cut2Shape team meet your spec first time. Save your crew and ours from an awkward call or an extra visit by ticking off the basics below.

Pitfalls and tips from the bench

Missing details stall the job more often than a broken bit. Skipping the sign-off or assuming a contractor knows what 'paint-ready' means can bring a whole project to a crawl. The most common slip is not writing down the constraint, the reason the finish matters for your next step. That leads to confused handoffs, missed deadlines, or extra costs. Another tip: if your job is going to spend weeks in coastal humidity, mention it. Some finishes react to Durban air or Cape storms differently than they do in Polokwane or Bloem. For more on practical project lessons, see our blog or match a process from Finishes. If you need a walkthrough or want to double-check your specs, send a message through our contact form and mention 'Finishing after the cut'.

Talk to Cut2Shape

Our contact form · Sunnyrock nest floor